I have used mozilla’s Django OpenID Connect client before, but this time I found something called Django-AllAuth.
Django-Allauth seems packed full of features and is well maintained. So I am going to test whether I can use it with Keycloak as the identity provider for users on django and django admin.
Initial Setup
With your activated environment and existing django project:
pip install django-allauthAdd the required settings in settings.py:
AUTHENTICATION_BACKENDS = [
    ...
    # Needed to login by username in Django admin, regardless of allauth
    'django.contrib.auth.backends.ModelBackend',

    # allauth specific authentication methods, such as login by e-mail
    'allauth.account.auth_backends.AuthenticationBackend',
    ...
]

INSTALLED_APPS = [
    'django.contrib.sites',
    'allauth',
    'allauth.account',
    'allauth.socialaccount',
    'allauth.socialaccount.providers.keycloak',
]

SITE_ID = 1

# Set your keycloak url and realm
SOCIALACCOUNT_PROVIDERS = {
    'keycloak': {
        'KEYCLOAK_URL': 'https://keycloak.custom/auth',
        'KEYCLOAK_REALM': 'master'
    }
}
To get the KEYCLOAK_URL you just add /auth to your keycloak base url.
In urls.py:
urlpatterns = [
    ...
    path('accounts/', include('allauth.urls')),
    ...
]
Then migrate the db:
./manage.py migrateFollow the instructions for registering a client on keycloak.
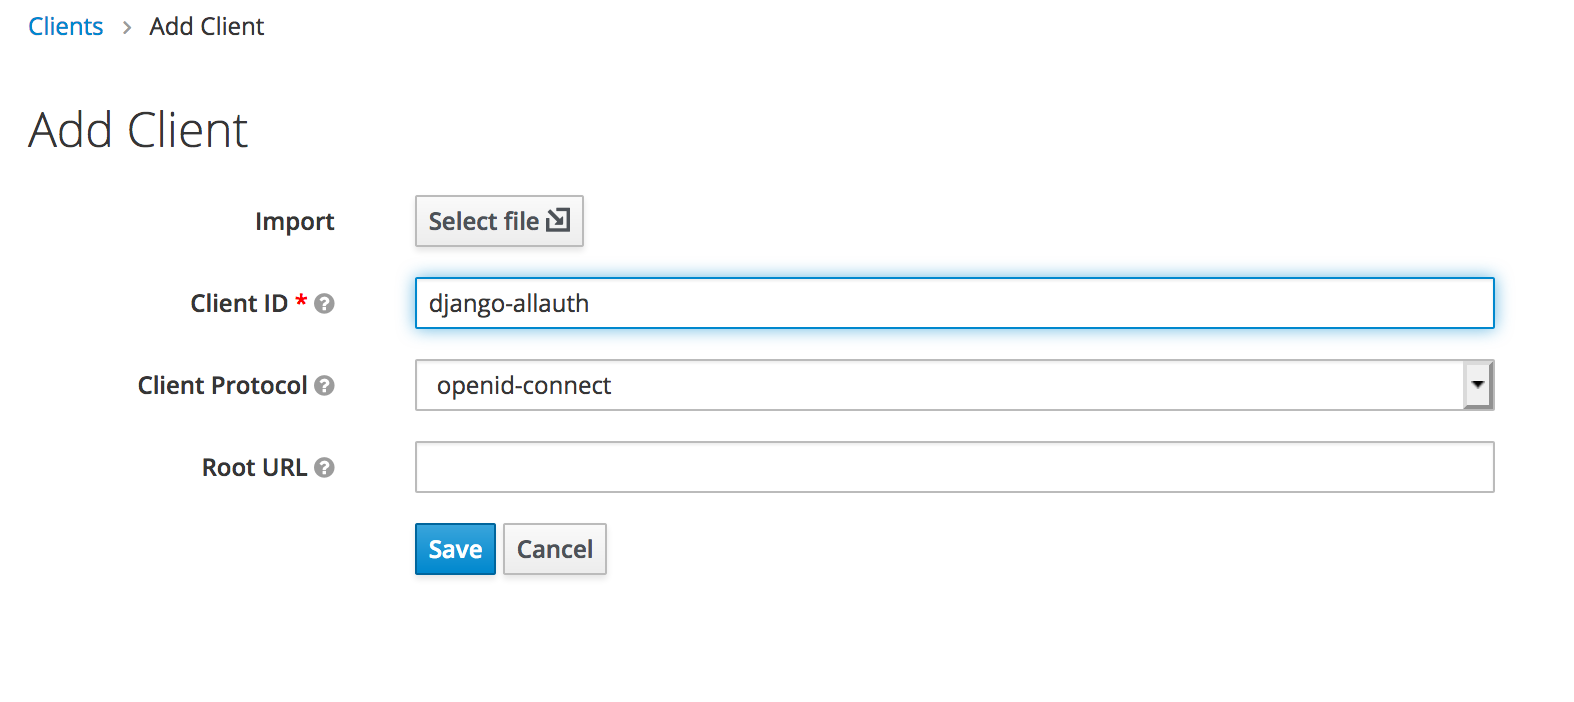
Set the valid redirect url for development: http://localhost:8000/accounts/keycloak/login/callback/

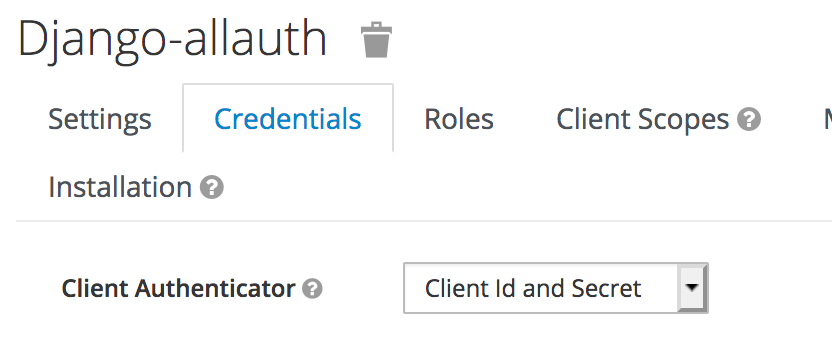
Set the client as confidential

Get the client id and secret
Then run the server and:
- Change the domain of the default site to your own
- Create a
socialappfor each integration
That is where you add your keycloak client information.
Set the details on django admin side
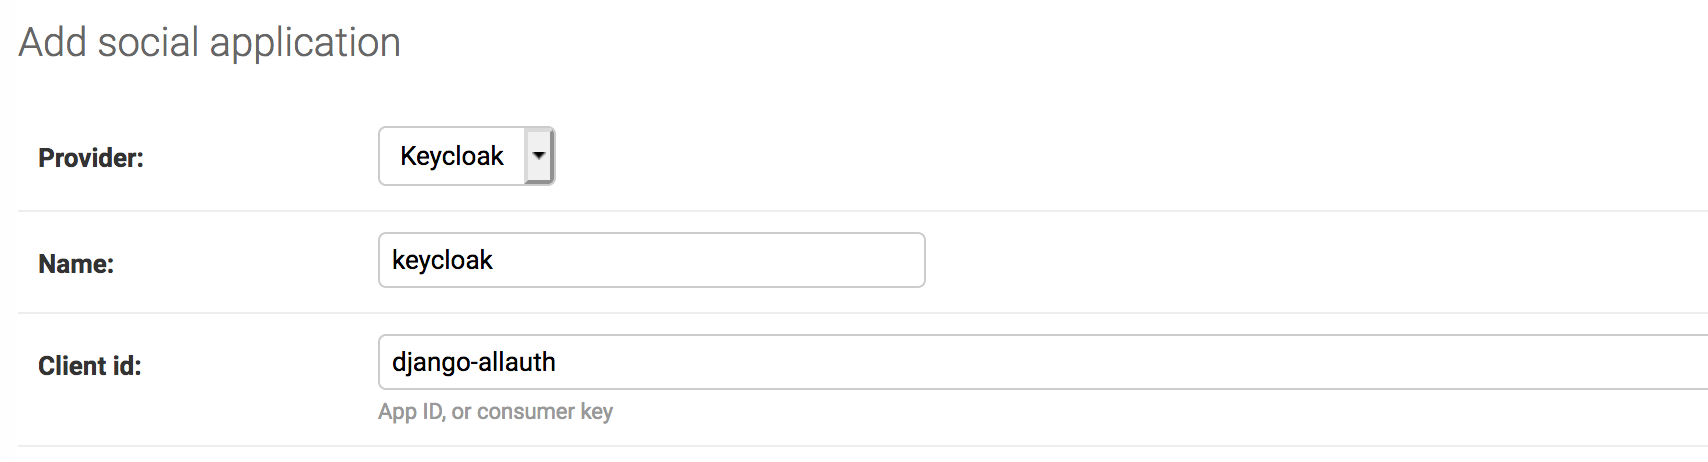
Make sure to link it to the given site.Otherwise you will get an error like this: Django: SocialApp matching query does not exist
You can also use the settings configuration instead of adding details in the database
Trying it out
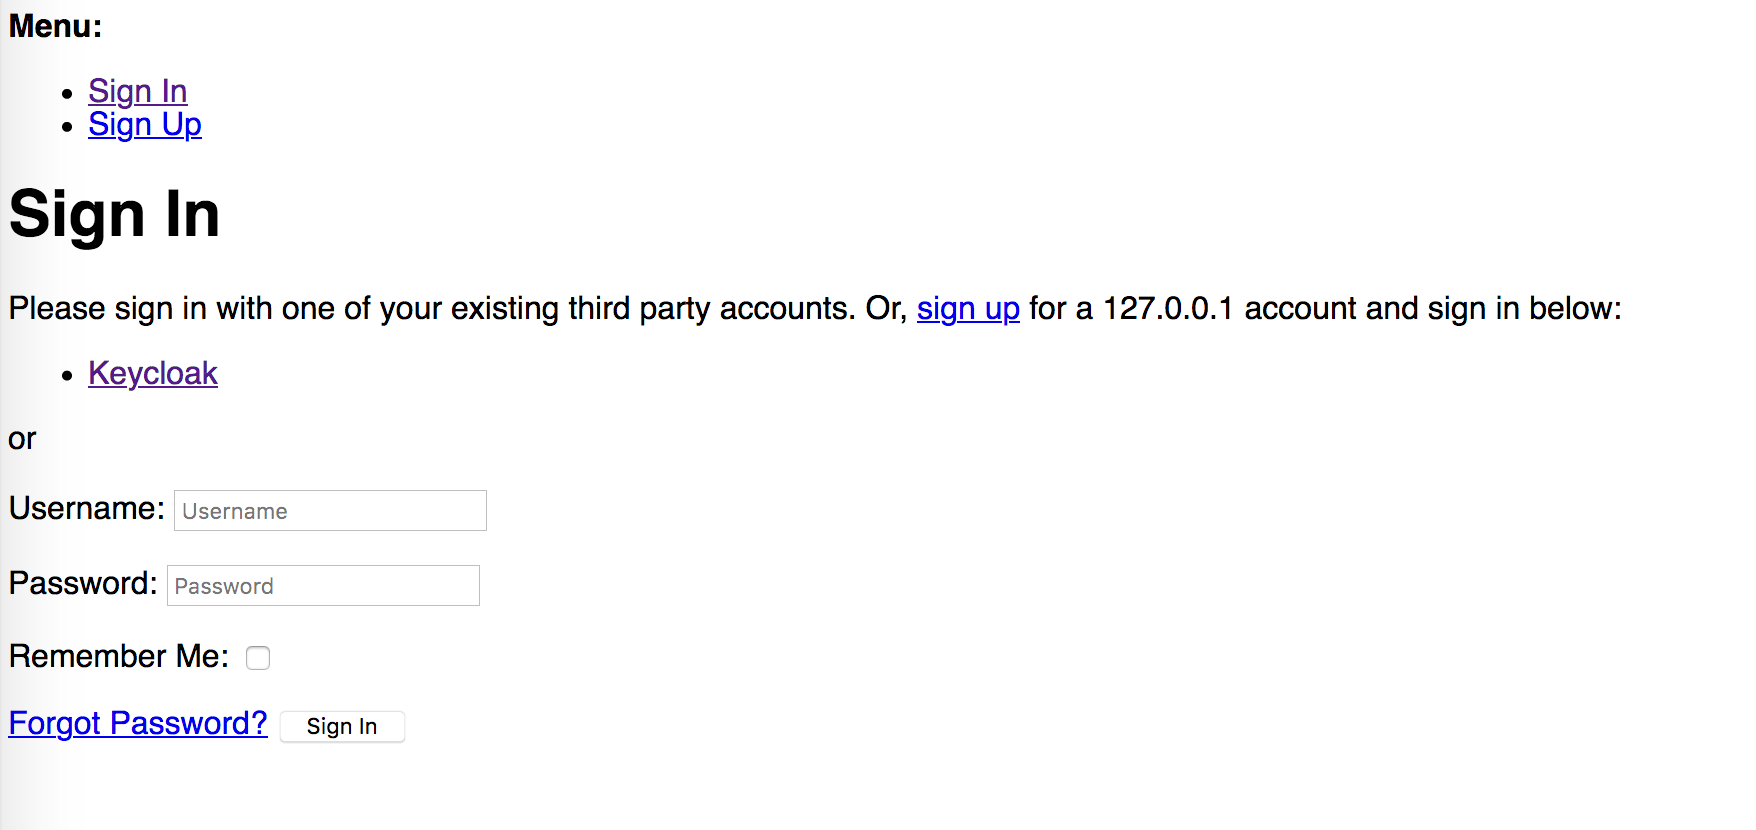
Log out of the admin and now go to:
http://127.0.0.1:8000/accounts/login/Click Login with keycloak and login. It’s not much to look at but functionality is key.
Once you are logged in it goes to the /accounts/profile path and 404’s.
If you get a
redirect_urlerror make sure you whitelist the redirect url you are using.

Fixing the Account/Profile 404
Why does it redirect here after a successful login – must I implement the view?
What happens on the admin side?
An active user is created.
How can groups / roles be pulled through from the user roles or client roles on keycloak?
![]()