Good day, in this post I will show you how to use Keycloak (Open source Redhat SSO) as the identity provider for AWX.
I am basing this tutorial on the post on red hat SSO integration on ansible.com and from the AWX docs on SAML authentication
Prerequisites
You need the following set up:
- AWX instance
- Keycloak Instance
- A realm with users or linked to another user source (identity brokering or user federation with LDAP)
Creating a Key Pair
Using OpenSSL or LibreSSL create a public-private key pair:
openssl req -new -x509 -days 365 -nodes -out saml.crt -keyout saml.keyOn your keycloak realm -> keys -> providers -> Add (RSA)
Then upload your private key and cert you created.
Steps
- Log into AWX as an admin user
- Go to
Settings -> Authentication -
At the top select the
SAMLbuttonOn this page the SAML Assertion Consumer Service (ACS) URL and SAML Service Provider Metadata URL are provided for you to enter on keycloak side
At this stage we can create the client for our realm
- Log into keycloak as realm admin
-
Go to
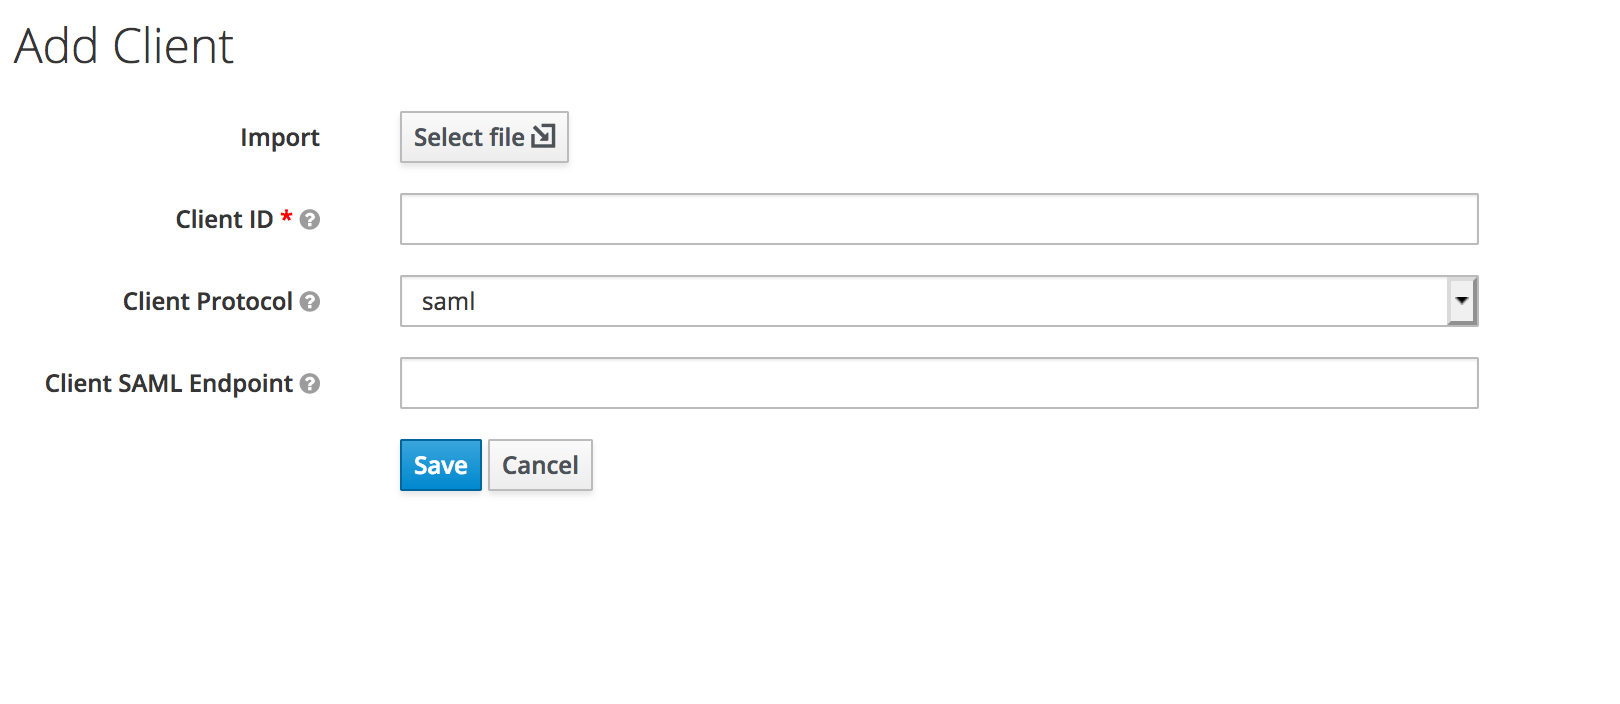
Clients -> Create clientSet
Client ProtocoltoSAMLGo to
/api/v2/settings/systemon AWX to find yourTOWER_URL_BASE. Add that as theEntity IDon Keycloak side.Example:
https://dev-automation.fixes.co.zaThen add the SAML Assertion Consumer Service (ACS) URL from AWX as the CLient SAML Endpoint on Keycloak.
Now we are done with the client creation we need to set the settings on keycloak side. Fill in the entity ID , SAML Service Provider Public Certificate and SAML Service Provider Private Key you created previously.
Now fill in any additional information:
Under SAML Service Provider Organization Info (This is just information about the identity provider):
{
  "en-US": {
    "url": "http://keycloak.fixes.co.za",
    "displayname": "Keycloak",
    "name": "keycloak"
  }
}
Under SAML Service Provider Technical Contact:
{
    "givenName": "Some User",
    "emailAddress": "suser@example.com"
}
Under SAML Service Provider Support Contact:
{
    "givenName": "Some User",
    "emailAddress": "suser@example.com"
}
Under SAML Enabled Identity Providers (Info on how to connect to the provider):
{
   "RHSSO": {
      "attr_last_name": "last_name",
      "attr_username": "username",
      "entity_id": "https://rhsso.usersys.redhat.com:8443/auth/realms/tower",
      "attr_user_permanent_id": "name_id",
      "url": "https://rhsso.usersys.redhat.com:8443/auth/realms/tower/protocol/saml",
      "attr_email": "email",
      "x509cert": "",
      "attr_first_name": "first_name",
      "attr_groups": "groups"
   }
}
Under SAML Organization Map:
{
   "Default": {
      "users": true
   },
   "Systems Engineering": {
      "admins": [
         "acheron@redhat.com",
         "jparrill@redhat.com",
         "covenant@redhat.com",
         "olympia@redhat.com
      ],
      "remove_admins": false,
      "remove_users": false,
      "users": true
   }
}
Add the Mappers on Keycloak
Errors
Keycloak Error: “We’re sorry, failed to process response”
Check your Keycloak log. If the log displays
failed: org.keycloak.common.VerificationException: Client does not have a public keyset Encrypt Assertions to OFF in your Keycloak client.
Logs in to Keycloak and Redirects – but does not Login to AWX
In the AWX logs you will find this line:
social Found an Attribute element with duplicated Name
You have to Your Realm -> Client Scopes (left side) -> role_list -> Mappers -> role list -> Set Single Role Attribute to On
Boom – it works!